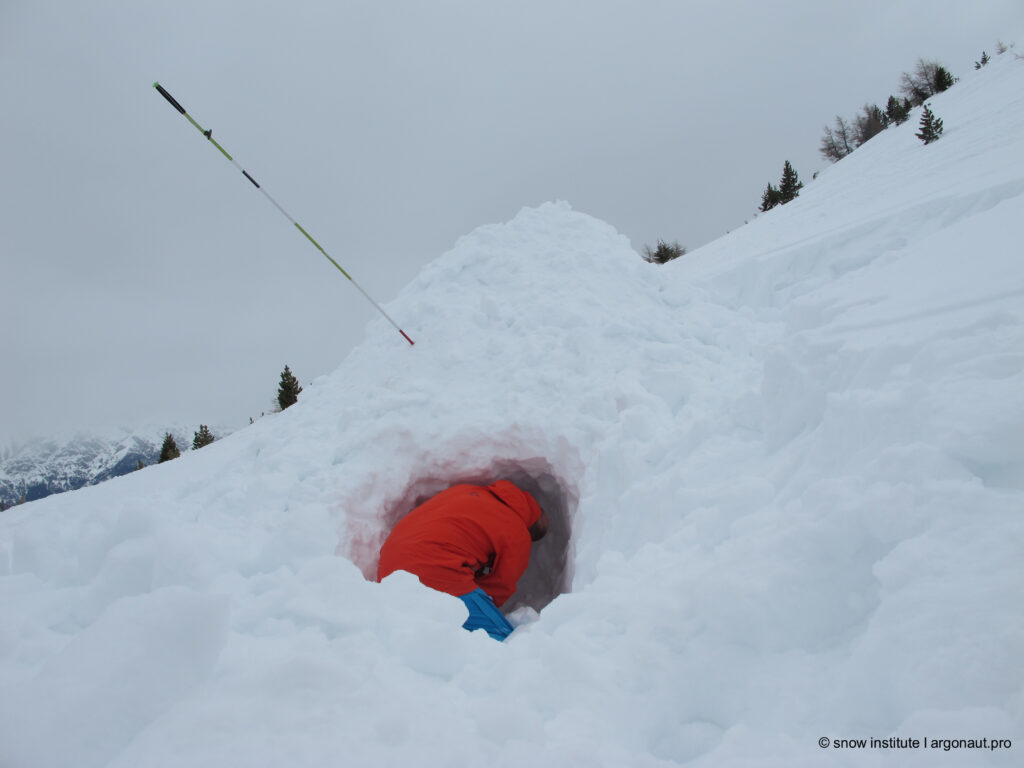
To be able to spend a night outdoors without suffering physical damage, you need not only the right equipment but also some know-how on how to best protect yourself from the wind, rain and cold. Also helpful: basic knowledge of how best to build a bivouac. Of all the possible types of bivouac construction, the Panzerknacker igloo is probably the most universal because
- it is easy to build.
- it is ready quickly (in about an hour).
- it works both with low snow depth and with poor (= loose) snow.
- it offers optimum protection.
The name – some sources also cite the Tyrolean mountain guide Franz Kröll as the namesake – is derived from the construction of the bivouac: like the evil villains, you “break into” a pile of snow from the outside in order to get hold of valuables (= rucksacks).
“Don’t wait until the last minute, start building your bivouac in good time!”
Yeti
Basically, it is important not to decide on a bivouac at the last minute. Only those who are not completely physically exhausted or mentally exhausted can still take the necessary measures to survive the night. We have summarized the most important points for building a bivouac here:
Choice of location
The choice of location should be made as carefully as possible and the aspect of safety (avalanches, falling trees, crevices, etc.) should be taken into account. Windless, rather snowy spots on slightly sloping terrain are ideal.
Kick the space and shovel in rucksacks
Use your boots (or skis first if the snow is deep and loose) to tread down a circular area of snow that corresponds to the base area of the igloo (the size of the area depends on the number of people that need to be accommodated).
Then put the available rucksacks together and cover them with a bivouac sack. From the side, shovel layer after layer of snow onto this pile of rucksacks until a cone is formed that is large enough for you to find enough space inside. In between, the snow should be repeatedly compacted with the shovel.


Sounding and recovering rucksacks
Once you have determined the exact location of the backpacks with the probe, you dig an access from below (from the side if the snow depth is very low) and pull them out, creating a small primary cave that makes further excavation much easier.
When positioning the entrance, make sure that it is not directly facing the wind, but also that it is not completely on the leeward side, as otherwise there is a danger of it being blown shut.


Hollow out the igloo and prepare the bivouac
From the inside, the room is enlarged until there is enough space. As soon as you can see light shimmering through the snow (approx. 40 cm wall thickness), you should stop digging due to the risk of collapse – be careful at night!
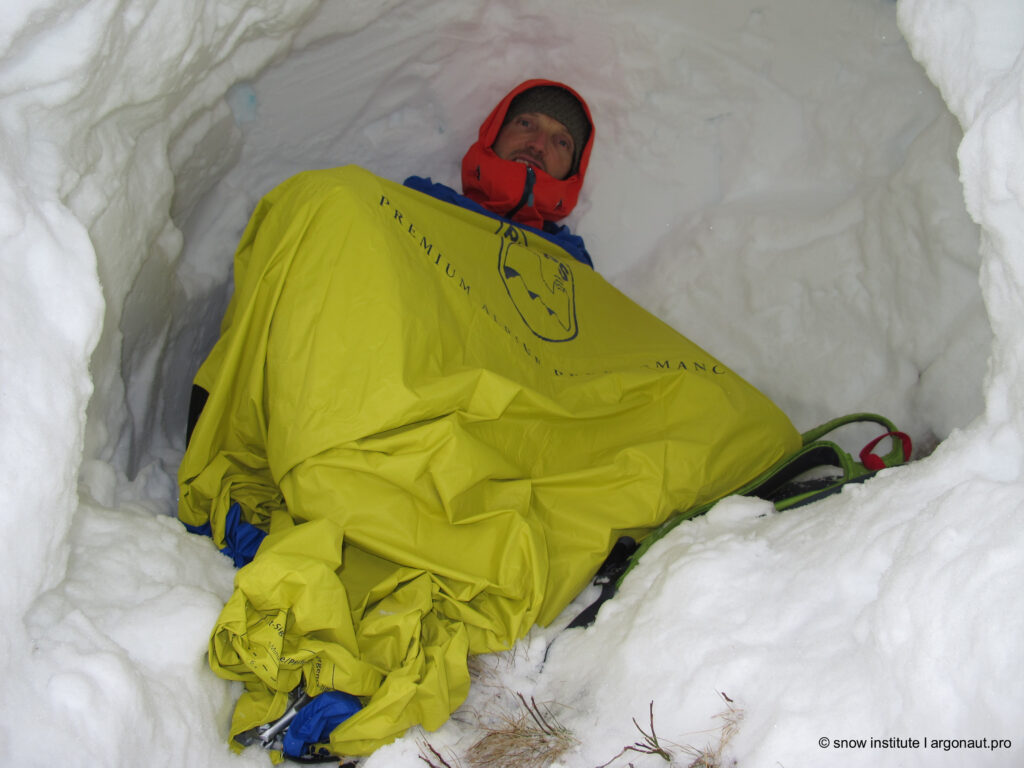
The rucksacks serve as a base to sit on, and it is best to slip into the bivouac sack yourself in order to lose as little heat as possible. A rescue blanket can also provide valuable services here, not to mention the soothing effect of a small candle or a dry T-shirt.


In general, when building a bivouac, you should take your time when shoveling – provided the external conditions are not too adverse (the night is long enough anyway …). This will also save you energy and prevent your clothes from getting wet with sweat. If in doubt, take off your undershirt and sweat in a fleece or hardshell, then you’ll still have a dry, warming layer on your skin afterwards.
It’s a pretty good idea to build such a Panzerknacker igloo with all pupils or skiers/freeriders at the next opportunity, so that they are perfectly equipped in an emergency and can fall back on familiar things – and it’s also really fun.